The Wheel pose, also known as Chakrasana, Upward-facing bow, and in Sanskrit as Urdhva Dhanurasana, is one of the most challenging backbends in yoga. In its simplest form, with proper alignment and good props, it’s easy to do.
However, unlike most other poses with more accessible variations, the Wheel pose has more challenging modifications.
Therefore, if you have chronic knee, back, shoulder, wrist, or neck problems. Also, if you have high blood pressure, heart irregularities, or headaches, you should approach the Wheel pose with extreme caution.
Table of Contents
Yoga Wheel Pose Benefits
Here are some reasons why you should always practice the yoga wheel pose.
- It opens up the chest and improves respiration: As you backbend up and out of your ribs and chest, the intercostal muscles open up, and an increased amount of oxygen is allowed into the rib cage.
- It improves spine elasticity and flexibility: The wheel pose strengthens and lengthens the spine by creating the necessary space in the vertebrae to keep it standing tall so that it doesn’t compress.
- It loosens tight hips: The hip alignment required in the Wheel pose stretches the hip flexors, thus improving hip flexibility. The Wheel pose is perfect for eople whose jobs or daily routines require them to sit for long periods need their hip flexors extended.
- The Wheel pose strengthens your shoulders, arms, legs, chest, core and wrists: This is because it engages the muscles in all these parts of the body. So, with consistent Wheel-ing, it’s not too much to expect toned muscles and excellent posture in the long run.
- It’s a great inversion: The Wheel pose is an inversion of the Bow pose, and inversions release tension, increase circulation and energy levels. Furthermore, when we do inversions, the brain slows blood flow, thus decreasing blood pressure and heart rate, giving the heart a break.
How to Do The Wheel Pose
Before we get into the variations, here’s the simplest way to get into the basic Wheel pose.
- Warm-up with some sun salutations. Then include the Bow pose, Warrior 1, the Camel pose, the Bridge pose and some wrist exercises.
- Afterwards, lie on your back in the Corpse pose. Next, bend your knees at a 90-degree angle, bringing the soles of your feet close to your buttocks, so that your feet are right below the knees. Make sure your feet and knees are parallel and a hip’s width apart. You can wedge a yoga block between your knees or wear yoga straps around your knees and feet to create this distance. If your knees and feet are not parallel, you risk putting undue pressure on your lower back when you lift your body. Moreso, You should solidly plant your feet to the floor.
- Reach for your heels with your hands to check that they are evenly distanced from the edge of your yoga mat.
- Bend your elbows and bring your palms beside your ears and right behind your shoulders. You should firmly place your on the floor, and your fingers should point at your feet.
- Press on your palms and feet to lift yourself, but don’t go all the way up yet. Rest on the crown of your head without putting pressure on your neck – your weight should be evenly distributed between your hands and feet. Then, check that your elbows are parallel and aligned to your wrists, not facing out.
- Then, lift off your head, straighten your arms and push your chest and hips towards the ceiling. If your shoulders are tight, you can widen the distance between your hands. Finally, find a comfortable space to look, either straight ahead or somewhere in between your hands.
- For modifications, you could straighten your legs, cross your legs, push up on the balls of your feet to give you extra space for movement, walk back to your hands, push your face and chest towards a wall, if you are practising against a wall.
- To get out of this pose, tuck your chin towards your chest, push your body forward and slowly lower yourself to the ground. While resting, allow your knees to come together. You could relieve your muscles by going into the Child’s, Head-to-Knee, Happy Baby and Corpse poses.
Take Note While Practicing
You should firm your butt but not too intensely; else, you could tilt your hips up, compress your spine and hyperextend your lower back. When you get into the position, relax your glutes.
To be sure you got the position right, your knees and feet should be parallel and have a hip’s distance, your glutes should be relaxed, your armpits long, fingers facing forward, and your gaze should be between your hands or straight ahead. If, at any point, you feel some pain, abort the mission.
You must not push your body beyond its flexibility limits, or you will injure yourself.
Yoga Wheel Pose Variations to Try
Here are some simple variations of the yoga wheel pose to try now.
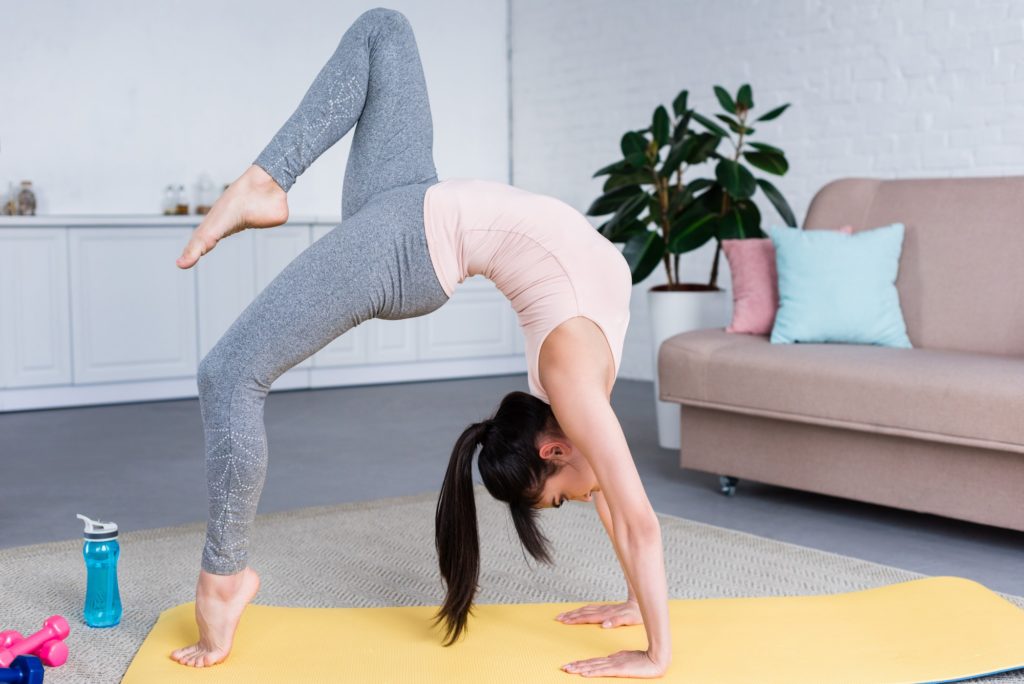
1. Straight-legged Wheel
This variation is excellent for stretching the hip flexors, especially for people who sit all day and have tight hips. To do this variation, come from the basic Wheel, press your palms into the floor, push your chest further into the sky, tighten your core, and walk away from your hands. Then, one leg at a time, straighten your legs.
2. One-legged Wheel
This one demands a lot of strength and balance. The goal here is not to see how high you can lift your leg but rather how much balance you can manage without hurting yourself. Begin with the basic Wheel; walk your legs back towards your hands as much as your lower back can handle.
Press into your right feet and both hands, then lift your left leg, bend the knee and draw it to your chest. Take a deep breath, activate your core, make sure you are balanced, then slowly straighten the leg and point your toes skywards. Stay for a few seconds, then repeat for the other side.
3. One-armed Wheel
This variation emphasizes arm strength. From the standard Wheel, shift the weight to your left hand and evenly distribute your weight to your legs. Next, activate your core, rise to the fingers of your right hand. Feel the balance, and then lift your hand from the floor to your chest. Repeat for the other side.
4. Stand to Wheel
For this variation, you can drop from a standing position to Wheel. Start by standing firm, activate your core and make the praying hands before your chest. Then slowly bend back with your legs straight, push your pelvis forward and your chest upward, keep your praying hands in front of your chest, and trace the ceiling with your eyes.
When your bend is deep enough that your head is right behind your butt, stretch your hands over your head and down to the floor and bend your knees.
Then when your hands are straightened against the floor, your knees bent, and your feet firm on the floor, rock your body to equalize your weight, then elongate your arms, feel your balance, and check your alignment. Then move into any variations of your choice.
5. Chest-to-Wall Wheel
There are several different ways to get into this variation. First, you could get into the typical Wheel with a wall set up behind you.
Then slowly walk back towards the wall till the heels of your hands hit the wall. Then push yourself into the wall and make sure your arms and chest are flat against the wall to deepen your bend and open your chest. Second, you could go from Stand to Wheel but with a wall behind you for stability.
So, start your Wheel from a standing position, engage your knees and core, raise your hands and engage your elbows. Next, bend slowly to the back till your hands hit the wall. Then walk your hands down the wall till your arms and chest are flat against the wall to deepen your bend.
This is usually the variation employed by those who struggle to go from stand to Wheel without support, so the processes are essentially the same.
To come out of this pose, lead with your chest, push back at the wall and walk up till you return to a standing position.
6. Forearm Wheel
Press into a complete Wheel, engage your core and your legs. Then, bend your elbows and gently drop the top of your head to the floor.
Next, release one forearm to the floor, then the other. Next, interlock your hands to make the praying hands or leave them flat against the floor and then push away from the floor with your forearms.
7. Hands-to-Feet Wheel
To take things up a notch, move in from the Forearm wheel, and walk your feet towards your hands till your fingertips can touch your heels. If flexible enough, you could grab your ankles or walk back till your head feels your feet.
Generally, you can hold the Wheel pose for one to three minutes, but this is very dependent on how long you can hold it without causing yourself any injury. If you have not incorporated this pose into your routine, you should not rush it, be patient and listen to your body.
Moreover, you are probably already prepping for this pose by doing the Bridge pose, which is one of the sequences for the Wheel pose to make it more accessible. When your trainer believes you’re ready, they will include it in your routine. Or when your body is prepared.
Keep reading:
